Porcelain Slab Tiles Installation Process
Steps To Install Porcelain Tiles
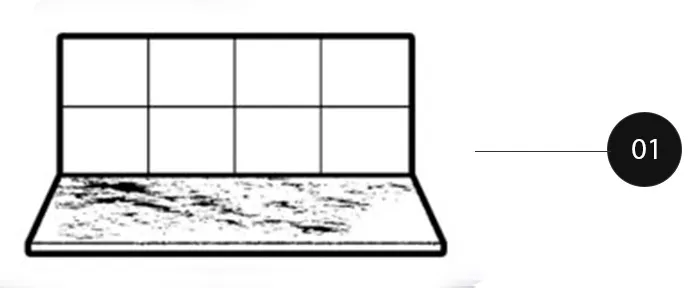
BACKGROUND
Organize the screed and persuade there are no cracks or other observable reparation.
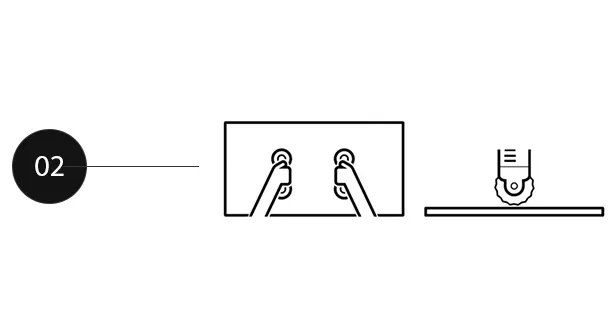
Handling And Cutting Of The Tiles Materia
For proper knob of large format, usage of specific equipments:
- Use transport cart is suggested, for the bigger sizes tiles or 120*120 for proper handling
- In case 60*120 size, the carts can be avoided. Even so; it is suggested to manage the resources in two.
- Box to keep the material while transport, to reduce the risk of accidental bumps.
For the cutting of large slabs it is recommended to use one of the various types of dry cutters on the market. Using other tools you may experience irregular cuts or break the materials. If the cutter blade is damaged or too worn, the risk to realize not optimized cuts will grow.
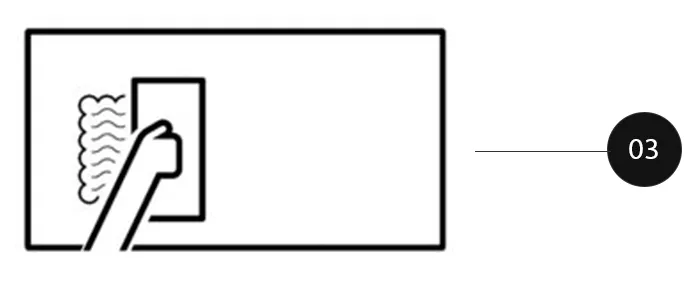
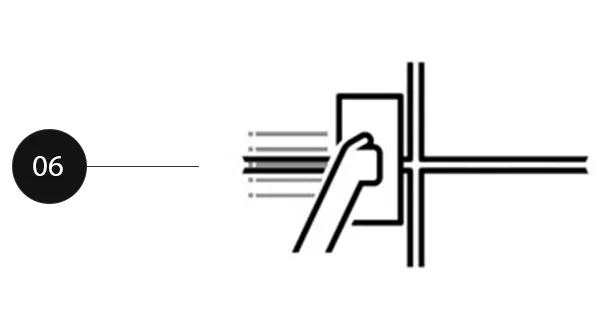
Applying the glue
The glue must be applied both on the back of the slab and on the screed. Also for this operation, it is recommended to use specific tools. Otherwise, there’s the risk of doing non homogeneous drafting, causing the creation of air bubbles that could compromise the installation.
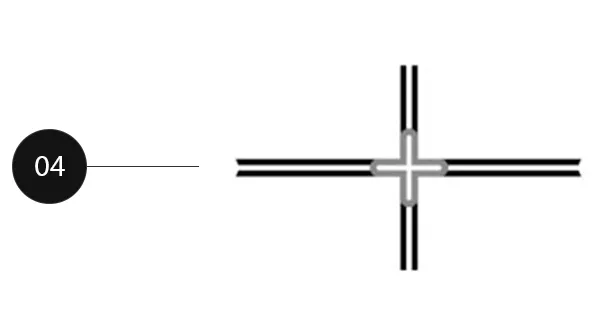
Joints
- A 2mm joint space is suggested for all sizes.
- For slabs, 2mm joint is strongly recommended, as well as proper positioning of spacers on floor sides.
- Thanks to 0,8 caliber (meaning that a 1200 x 2400 mm mininal size is 1998 x 2398 mm actual size) tiles of different sizes can be used in a single floor pattern, achieving perfect lay down.
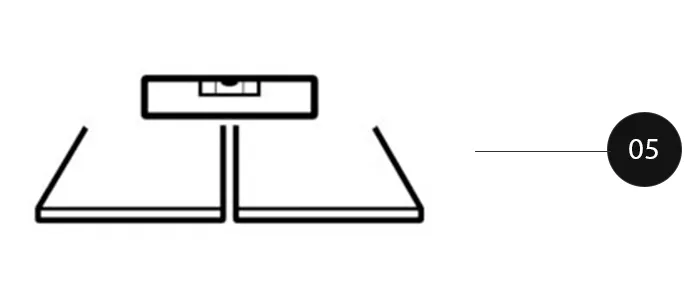
Use of levelers during the installation
The glue must be applied both on the back of the slab and on the screed. Also for this operation, it is recommended to use specific tools. Otherwise, there’s the risk of doing non homogeneous drafting, causing the creation of air bubbles that could compromise the installation.
Grout finishing
- A 2mm joint space is suggested for all sizes.
- For slabs, 2mm joint is strongly recommended, as well as proper positioning of spacers on floor sides.
- Thanks to 0,8 caliber (meaning that a 1200 x 2400 mm mininal size is 1998 x 2398 mm actual size) tiles of different sizes can be used in a single floor pattern, achieving perfect lay down.

First cleaning after installation
Specific equipment is used to apply both on the back of the block and the screen. Due To doing non- standardized draft, which causes air bubbles which need assistance during installation.